Tolerance range and dimensional certificates
https://www.tommasin.com/wp-content/uploads/2018/03/copertura_1-1.jpg
The tolerance range
It is impossible to make objects whose dimensions correspond exactly to those set out in the project. For this reason, there is the tolerance range, i.e. a numeric range, between a maximum value and a minimum value that the size of the piece can assume.
Each piece to be machined is therefore characterised by its own degree of precision, upon which the machining tolerance range depends. The degree of precision is therefore greater, the narrower the tolerance range, but varies according to the performance required of the workpiece and the quality of the material used.
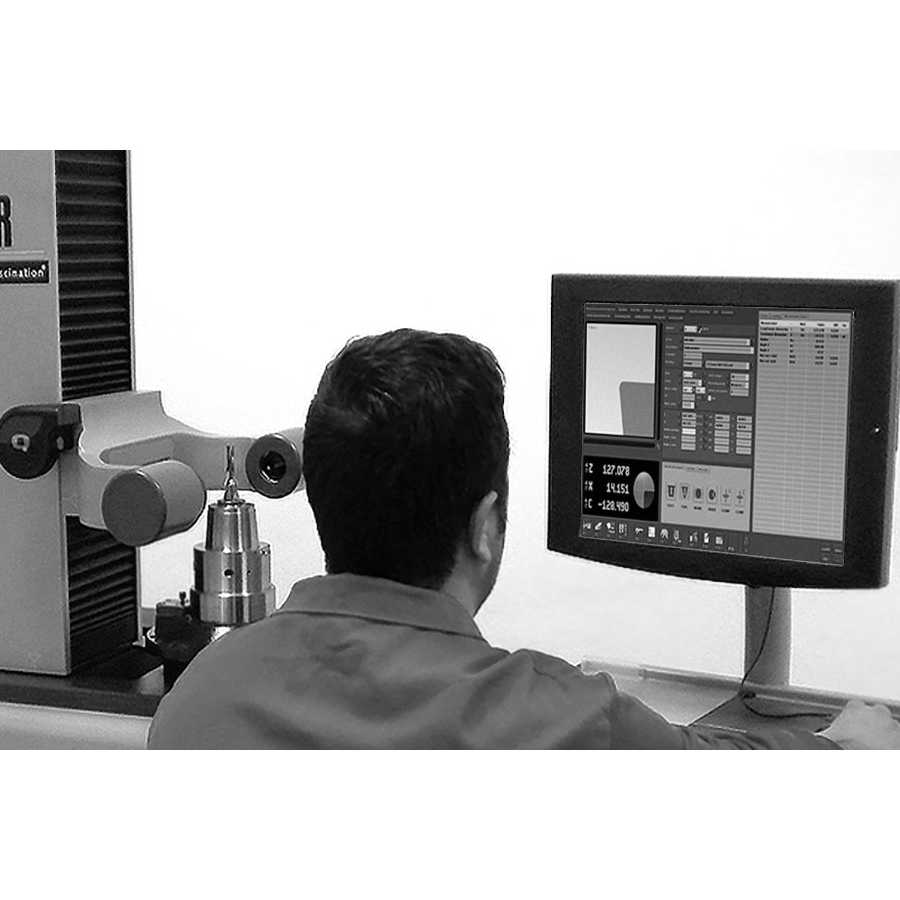
In fact, the TOMMASIN quality control department provides a dimensional certificate for every special tool, which guarantees compliance with both the size and shape tolerances.
Tolerance range position
The lower and upper deviations are not always symmetrical with respect to the zero axis; in fact, the tolerance range positions that can most commonly be found are:
- Symmetrical bilateral when the lower and upper deviation are equal.
- Upper asymmetric bilateral when the lower deviation is less than the upper one.
- Lower asymmetric bilateral when the lower deviation is greater than the upper one.
- Lower unilateral, when the lower and upper deviations are both negative (in this case, the actual size of the workpiece is less than the nominal size).
- Upper unilateral, when the lower and upper deviations are both positive (the actual size is larger than the nominal size).
Contact us, to make your special tool
Tolerance certificates and couplings
Tolerance certificates are particularly important for couplings, i.e. the connection of two pieces, one internal and the other external, consisting of two parts: a shaft (or male or pin) and a hole (or female, or empty).
There are three types of couplings:
- Cylindrical (pin-bearing);
- Prismatic (key-slot);
- Dovetail (slide-guide).
The importance of dimensional certificates with regard to couplings is due to the fact that the shafts and holes must be mutually compatible, to allow for what are called play and interference.
We talk about play when the size of the shaft is smaller than that of the hole, while we talk about interference when the size of the shaft is greater than that of the hole.
Defining the tolerance range
To define the tolerance range, you start by establishing the nominal value of the hole and shaft, and then take into account the play or interference that the elements should have.
There are therefore three main conditions:
- Mobile or free coupling when the maximum shaft size is less than the minimum hole size. In this case, the shaft tolerance range will be fully below that of the hole.
- Fixed, stable or locked coupling, occurs when the minimum shaft size is greater than the maximum hole size. In this case, the shaft tolerance range will be fully above that of the hole.
- Uncertain coupling occurs when the tolerance ranges of the shaft and hole intersect, i.e. so therefore, from time to time, there may be play with the mobile coupling or interference with the fixed coupling.
The tolerance value can be indicated:
- Directly by the designer, who assesses the deviations and indicates them the drawing.
- By the ISO tolerance system, which allows the design criteria to be standardized.
The ISO system classifies the machining processes according to the degrees of precision, defining the tolerance range and deviations.
Tolerance evaluation via the ISO system is divided into three phases:
- Defining the degree of accuracy.
- Determining the value of the tolerance range, based on the nominal dimensions of the workpieces.
- Defining the deviation.


